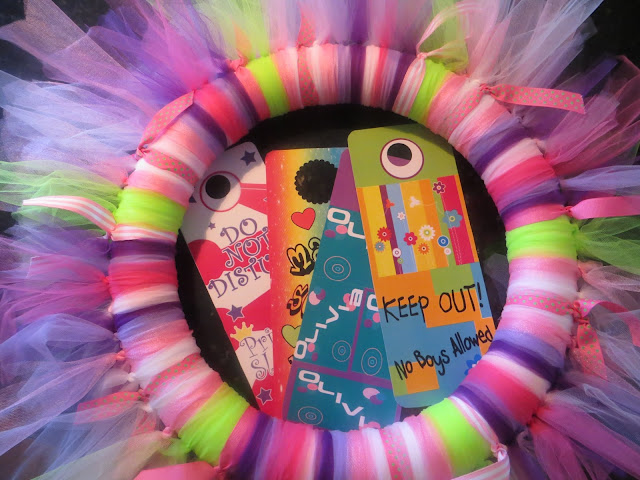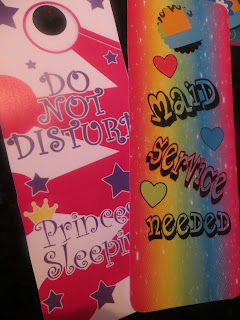
My six-year old granddaughter (soon to be seven, as she will quickly point out) is all things 'girlie". If it's pink or purple, she owns it. If it's anything that sparkles it's hanging in her closet. I'm fairly certain she will embrace this Tull-ific door wreath I made for her over the weekend. It has 4 interchangeable signs that hang in the center of the wreath. She can flip to whatever sign suits her mood. There should be a 5th sign that reads: DO NOT ENTER... I'm in Time Out!
The first step is deciding on your color palette. I selected colors in my granddaughter's bedroom, but you can do a autumn, Christmas or colors that match your décor.
I used pre-cut tulle on rolls. You can purchase tulle by the yard at fabric stores and cut into strips if you are so inclined. I find the rolls easier to use and store.
My wreath uses 19 and 24" lengths (the tulle rolls are 6 inches wide).
For added interest I also used three different grosgrain ribbon patterns; solid, dots and striped. The white Styrofoam wreath is 18" in diameter; a 12" diameter will also work.
The finished wreath has roughly (42) 19" tulle strips, (36) 24" tulle strips and (12) 15" cuts of ribbon. I cut about 1/3 of what I thought would be needed until I got a feel for how much area each tied piece would cover.
This is a craft that is ideal for camps, vacation bible school, after school activities or in a classroom. No water, glue or messy clean-up is involved; just a pair of scissors and a ruler.
I noted a couple of different techniques were given for attaching the tulle to the Styrofoam. The first method of threading the tulle through a loop didn't work. It took less time, but the tulle didn't stay attached to the ring. That method is shown below.
 |
| First looping method did not work well. |
The best method was wrapping the tulle around the ring twice (as shown below) and then tying off in a knot. It's really that simple. Continue wrapping and tying the tulle strips until the ring is completely covered. You can embellish with flowers, painted wood cut-outs, ribbon, bows...there are countless options.
Example: My six 19" strips consisted of dark purple, light purple, dark pink, light pink, dark purple, light pink. The 24" strips consisted of glittery pink, white, a strip of ribbon, white, glitter pink, two strips of lime green.
Fill in any sparse areas after the wreath is finished. I left the tulle edges straight on the shorter pieces and made a v-cut on the longer pieces. You can even round the edges if you want.
 |
| Here is the wreath hanging. |
 |
| Here is the wreath lying flat. |
 Here are the door hanger signs for the wreath. I made them using a photo editing program and then printed on card stock. A scrapbook punch was used for the hang-hole. A hook attached to the back side of the wreath will allow my granddaughter to switch out the signs at will. My honey-man is making the hook. Not yet sure how or with what, but he promised he had a plan.


No comments:
Post a Comment